Showing posts with label embossing paste. Show all posts

Aug 12, 2018

Angels on Earth - Italian Old World Style Embossing Paste Card - How to Find Design Inspiration


Today's project is SO MUCH FUN!
I am not sure what to call it - I know there are others out there that have probably done something similar.  I like to do original work, so I don't spend much time at all looking at tutorials (I know, I post them and I don't know that I have ever even watched an entire one on Youtube, lol)  It is part of the reason I LOVE to get the Preorder.  There is nothing I enjoy more than getting products that have not been used before - I pop open the box and there it all sits.  What to do with it - that maybe no one has thought of?
This girl reminded me of my favorite spot on the planet.  Italy - well, that whole region of Europe.  Slovenia, Austria....so beautiful.  
You know I had those dang lemon stamps sitting here for ever (I know, I still have not posted the Lemon Bar recipe...it IS coming!). They remind me of Italy.
Just to pop over to the Cinque Terra for the afternoon and have one of these delicious little things again.  Put it on your bucket list.  Can you see where I am getting my Angel's Color Inspiration??!  She is a little Lemon Colored!

In fact, this whole entire card was inspired by Italy.  There is far too much detail for me to explain in the project to type it - so if you are interested in recreating it (or just elements) you can watch in on my YouTube ChannelI am not going to embed it, this time I think you do need to hop over there and be able to see it in HD, which you won't get here on my webpage. 

But click on the link here and see just how easy it really is!!

a few "after the video tips"
That's about how much of the refill I added to the paste.  The great thing about this project - even though it may seem a little more 'advanced' - it isn't really.  It's a perfect Step Up project if you feel like you are ready to try something new, but not quite ready to invest in the Big Shot yet.

I did use the Heat Gun, but as I said in the video, just waiting a few minutes to get to the perfect touch dry point would accomplish the same thing.
My no line look was going for the Old World Style.  It give my stamps a 2 in one purpose! Flip her back over later and she is a totally different image!
My "Italian Style" card was based on memories and feelings I get from photographs I have taken. 

 But you can design the same way.  Trips and pictures you have taken - even from your own back yard.  Pictures you may have see online taken by others.  

In fact, when I pulled up my own pictures of this trip - I can get inspired by a whole NEW color palette!  Maybe you can too!
This is a Caper - before it is in a jar at your grocery store! Look at those colors and that texture.
So many greens - and I am so glad that Stampin' Up! gives us so many greens to choose from!  But don't miss the red in the flag, the blue of the sky and again all of the texture and shades of the neutrals.  
This would be a fun color combination to try with the Blended Seasons flowers, no?  As artists we should never be at a loss to know where to start with color combinations - the world gives us so many to choose from.  Just pull up some pictures and try.  You see in my video I have a color of trial and errors.  It's just paper!  If you don't like what you do first, just try a new one.

The effect that I got with the Tin Tile folder and the Embossing Paste was pretty much EXACTLY what was in my mind.  That does not happen every time.  When it doesn't - you just move on to the next project.  But when it does - it is stamping magic!  I do want to get a shirt to wear that says "it is prettier in real life"  Because the photographs do not do this card justice.

I tried some natural light and my little lights.  The paste is colored Crumb Cake - it looks some off color in every single picture. The card has some weight to it.  It is a liberal coat of the paste as you saw in the video.
It makes me want to add a few jars of it to my next order.  How many Stampin' Up! colors do we see on this Italian hillside?  What other folders can I use - I am thinking I want to try the new Subtle one next!


While I intentionally used this Christmas angel in a non Christmas way - I plan on a Christmas decor piece that will draw in several elements of this project in more traditional colors.  I even kept some of the Christmas sprigs from last year.  Remember how I dusted those with the paste and the glitter for snow?  You can BET those will be a beautiful addition!!  If you missed it, you can find them on this site or on my Pinterest page.
I hope you enjoyed seeing how to do this - it is always fun to see how to use things like your Blends and Embossing Folders in new ways!
Toast you with a Granita!

August Online Order Special
use host code QJ9A2TD6
*Order $65 from my online store and select ONE free Classic Ink Pad (you select color)
*Order $100 from my online store and select TWO free Classic Ink Pads (you select colors)
allow 3 weeks for delivery)

Feb 19, 2018

Artistry Inspired - Sweet Soiree - Creating a Silver Cake Stand - 2 ways!

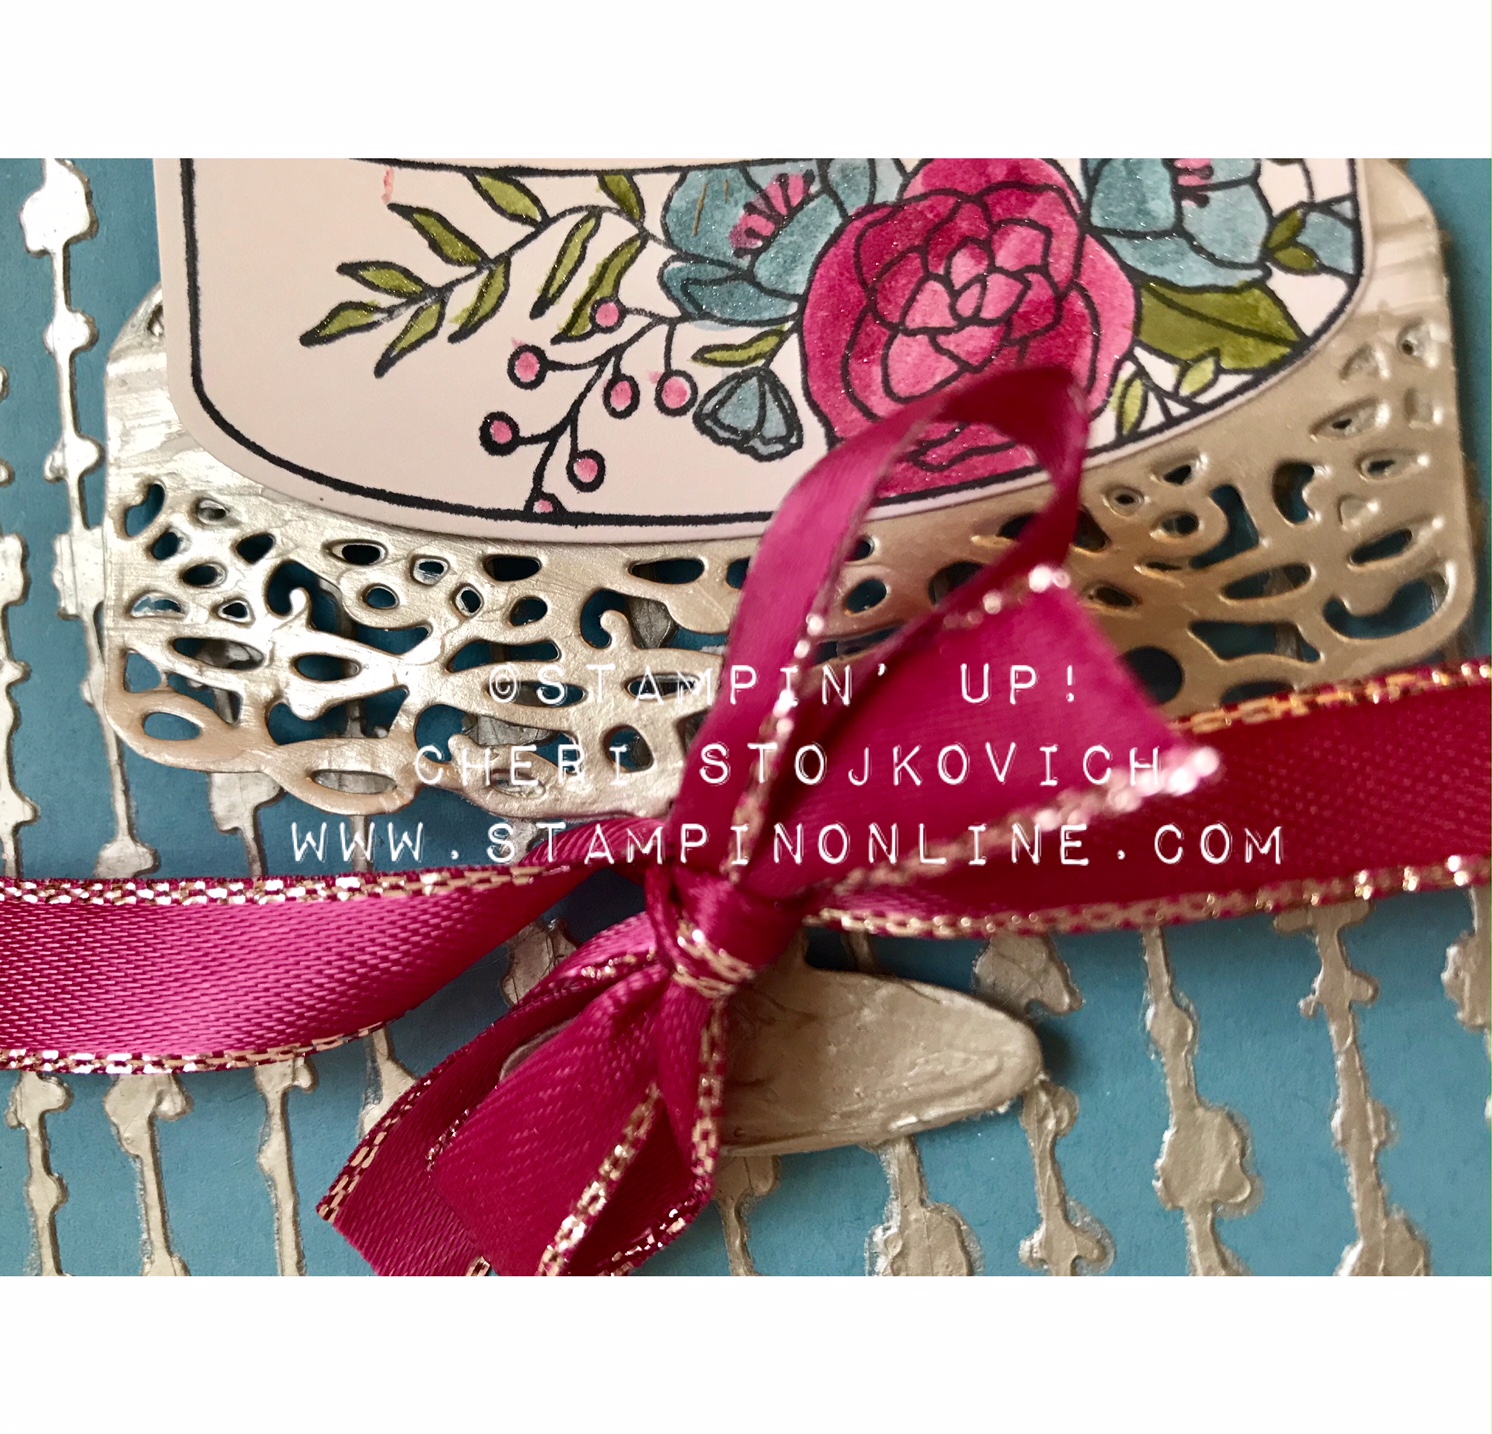
Here are a couple of more shots from one of the cards from my Artistry Inspired Class for the Sweet Soiree Class.  Love working with the embossing paste and this is a different way to use it than you might normally think of!


When I do the free classes  - you purchase the products - I give you a free class that you complete at home - it can mean that you don't have unlimited supplies to work with like you might if you were taking the home at my home.
The colors of cardstock that are purchased in the class didn't really work in creating a cake stand - which is created with this super lovely die.
However - the silver embossing paste is the PERFECT color to create the stand!
I did it two different ways - one which  I liked better when the card was done and assembled.  When you take the class I will show you the difference and you can try both at your home and see what you think!

Either way - it gives a very realistic metal appearance to your cake stand!


It really is lovely and I know the class participants are going to love this special effect on their cards!  There is still time (not much!) to join in on this class.  

To read about the Artistry Inspired Series  - click HERE

All online orders placed on my website that include the host code 3PTEB4HY  when prompted will receive a pack of mini dimensionals as a thank you gift!  If your order is over $75 - in addition to the mini dimensionals you will receive a Fast Fuse adhesive!  This offer is good through February 28th.

Feb 17, 2018

Artistry Inspired - Sweet Soiree - Working with Silver Embossing Paste

Those of you participating in the Sweet Soiree Artistry Inspired home class will LOVE working with the Embossing Paste when you get to class 3!

While I was creating the samples I took a few pictures so you could see just how simple the paste is - but even while it is simple - it gives a great dramatic element to your cards, tags and packaging.


You can see my jar of paste - it isn't runny.   It is the dead of winter here and has been since I have used this paste.  I don't know if once we go from our dry and heated air to our humid Indiana summer if it will change the consistency or dry time...but for now - it is nice and thick and dries within a fairly short time.

The jar shown here was used in one of my downline meetings (about 18 ladies) and in my camps and with my own creations (maybe another 10) - so did about 28 of the panels seen here and still had that much left in the jar.

If you are interested in giving the paste a try as part of the class - you will get access to the Facebook group for some assistance - you can find more information on the Artistry Inspired Class by clicking HERE

You can see a finished project made with this same background HERE

And if you are interested in a project made with the white shimmer paste - that can be found HERE


Feb 9, 2018

Beautiful Peacock in Shimmery White Embossing Paste Clouds

Today's short and sweet video features one of the FREE 2018 Sale-a-bration stamp sets-the Beautiful Peacock.  This stamp set is so much fun.  As you take a second look at it in your catalog - look at all of the pieces withOUT the peacock body.  The swirls, the flowers, the dots - all combine to be such fun background stamps - so don't just think "how often would I use a peacock?"

But - in this card....I am!


Don't you just love the clouds?  They give shimmer and texture.  While the card is so super simple, the addition of the clouds make it look like it took much longer than it did.  The Embossing Paste is part of my current Artistry Inspired Series - check it out here.  Those taking the class will get some in depth tips and training on using the paste via my Facebook Artistry group.

I will be focusing on the Embossing paste in a few upcoming Blog posts - you won't want to miss them.  There are so many different ways to use it.  It has been featured here several times.  When I am done, I will try to go back and bring back the past posts so you can take another look at some of the older videos where I used it.
All online orders placed on my website that include the host code 3PTEB4HY  when prompted will receive a pack of mini dimensionals as a thank you gift!  If your order is over $75 - in addition to the mini dimensionals you will receive a Fast Fuse adhesive!  This offer is good through February 28th.


Product List


Aug 23, 2017

At Home With You - featuring Embossing Paste

Place a $75 (product) or more order via my website by August 25th - and I will send you a FREE jar of  Embossing Paste!

Today's Technique video features the new product - Embossing Paste.  I am sure there are many ways to use it - on this card I will show you two.

A few tips as you work with it.
It dries QUICKLY.  Which is great - for your finished card.  Not so much for leaving your open jar sitting there or for mixing up more than you may need to use for the project you are working on at that sitting.  So - don't take out anymore than you think you need.  You can see the small dallop that I use in the video was plenty for both my 'bricks' and the tree.

I started with ONE drop of the crumb cake refill first.  (and from what I have seen using it, the colors will not look true to SU! colors until the paste has had time to dry, especially true in the case of crumb cake - it looks weird until dry!).  Then with what is left of the lighter color you can add just a smidgen of your darker color.  For the topiary I added Tranquil Tide.  The two cards were made at different times, you will never get quite the same shade again!


The Topiary actually is a Christmas one if you would just color it in.  But because I used the Palette tools to cover it like frosting, they disappear and my tree is fine for summer!  I used the masks for the bricks.  I like the look of not covering the entire card, so I intentionally left parts of the corners incomplete.
It was touch dry by the time I was done with the card in the video, but not quite dry enough to firmly adhere the parts together.  Just a note if you want to do the same card at home - filming required me to run the pieces through the big shot before  - it would be easier for you to color them before doing that!  And obviously wait for everything to dry thoroughly before sticking all of it together.  When you are done with your silicone sheet, tools and mask quickly run some water over them or use a wet wipe to get them clean.  If you wait even 5 minutes and the paste dries....clean up will take longer than it took you to make the card!  Make sure to keep the cover and seal it back over the jar.  I have been using this same jar for over 6 weeks and the paste is holding up fine.  I have made several cards and we have used it at camp.  It is the kind of thing that is hard to gauge how much there is - but it will go a long way!


Finally - I am often asked how my watercolor looks so strong with the pencils.  No, it's not photoshop!  I just press pretty hard with my pencils!  Way harder than I have seen anyone else press. I rarely use one color.  My door is mixed with at least 3 shades.  I use one shade to line along the left sides of all the panels, maybe 1/4 way in and then add a line or 2 of coordinating colors.  The frame is brown and black.  When I blend the color with the aquapainter I pull it toward the empty space and if it doesn't all fill in, that's ok, I leave it.  What if a pencil breaks for pushing so hard?  Eh...  They are cheap.  Seriously - a pack of pencils is just a couple of dollars more than a pack of Designer Series Papers.  Even if I break the tips on occasion and they need sharpened more often - I just consider them a consumable.  Try it.  I think you will be pleased with a really strong watercolor look.  It also opens up some additional colors.  If I wanted to do some flowers with a strong pressed yellow and a strip of orange - it would be totally different than my door!

Hope you enjoyed this as much as I enjoyed making it!  Please share my site with your friends.  And if you need a Demonstrator - I would love to service you.  I have a great Loyalty Reward Program and starting in late fall I will be starting a VIP Facebook program for customers!  Thanks for watching!


Product List